We saw a tweet one day where someone had done this, and wanted to try it. It's not as hard as it looks but very meticulous.
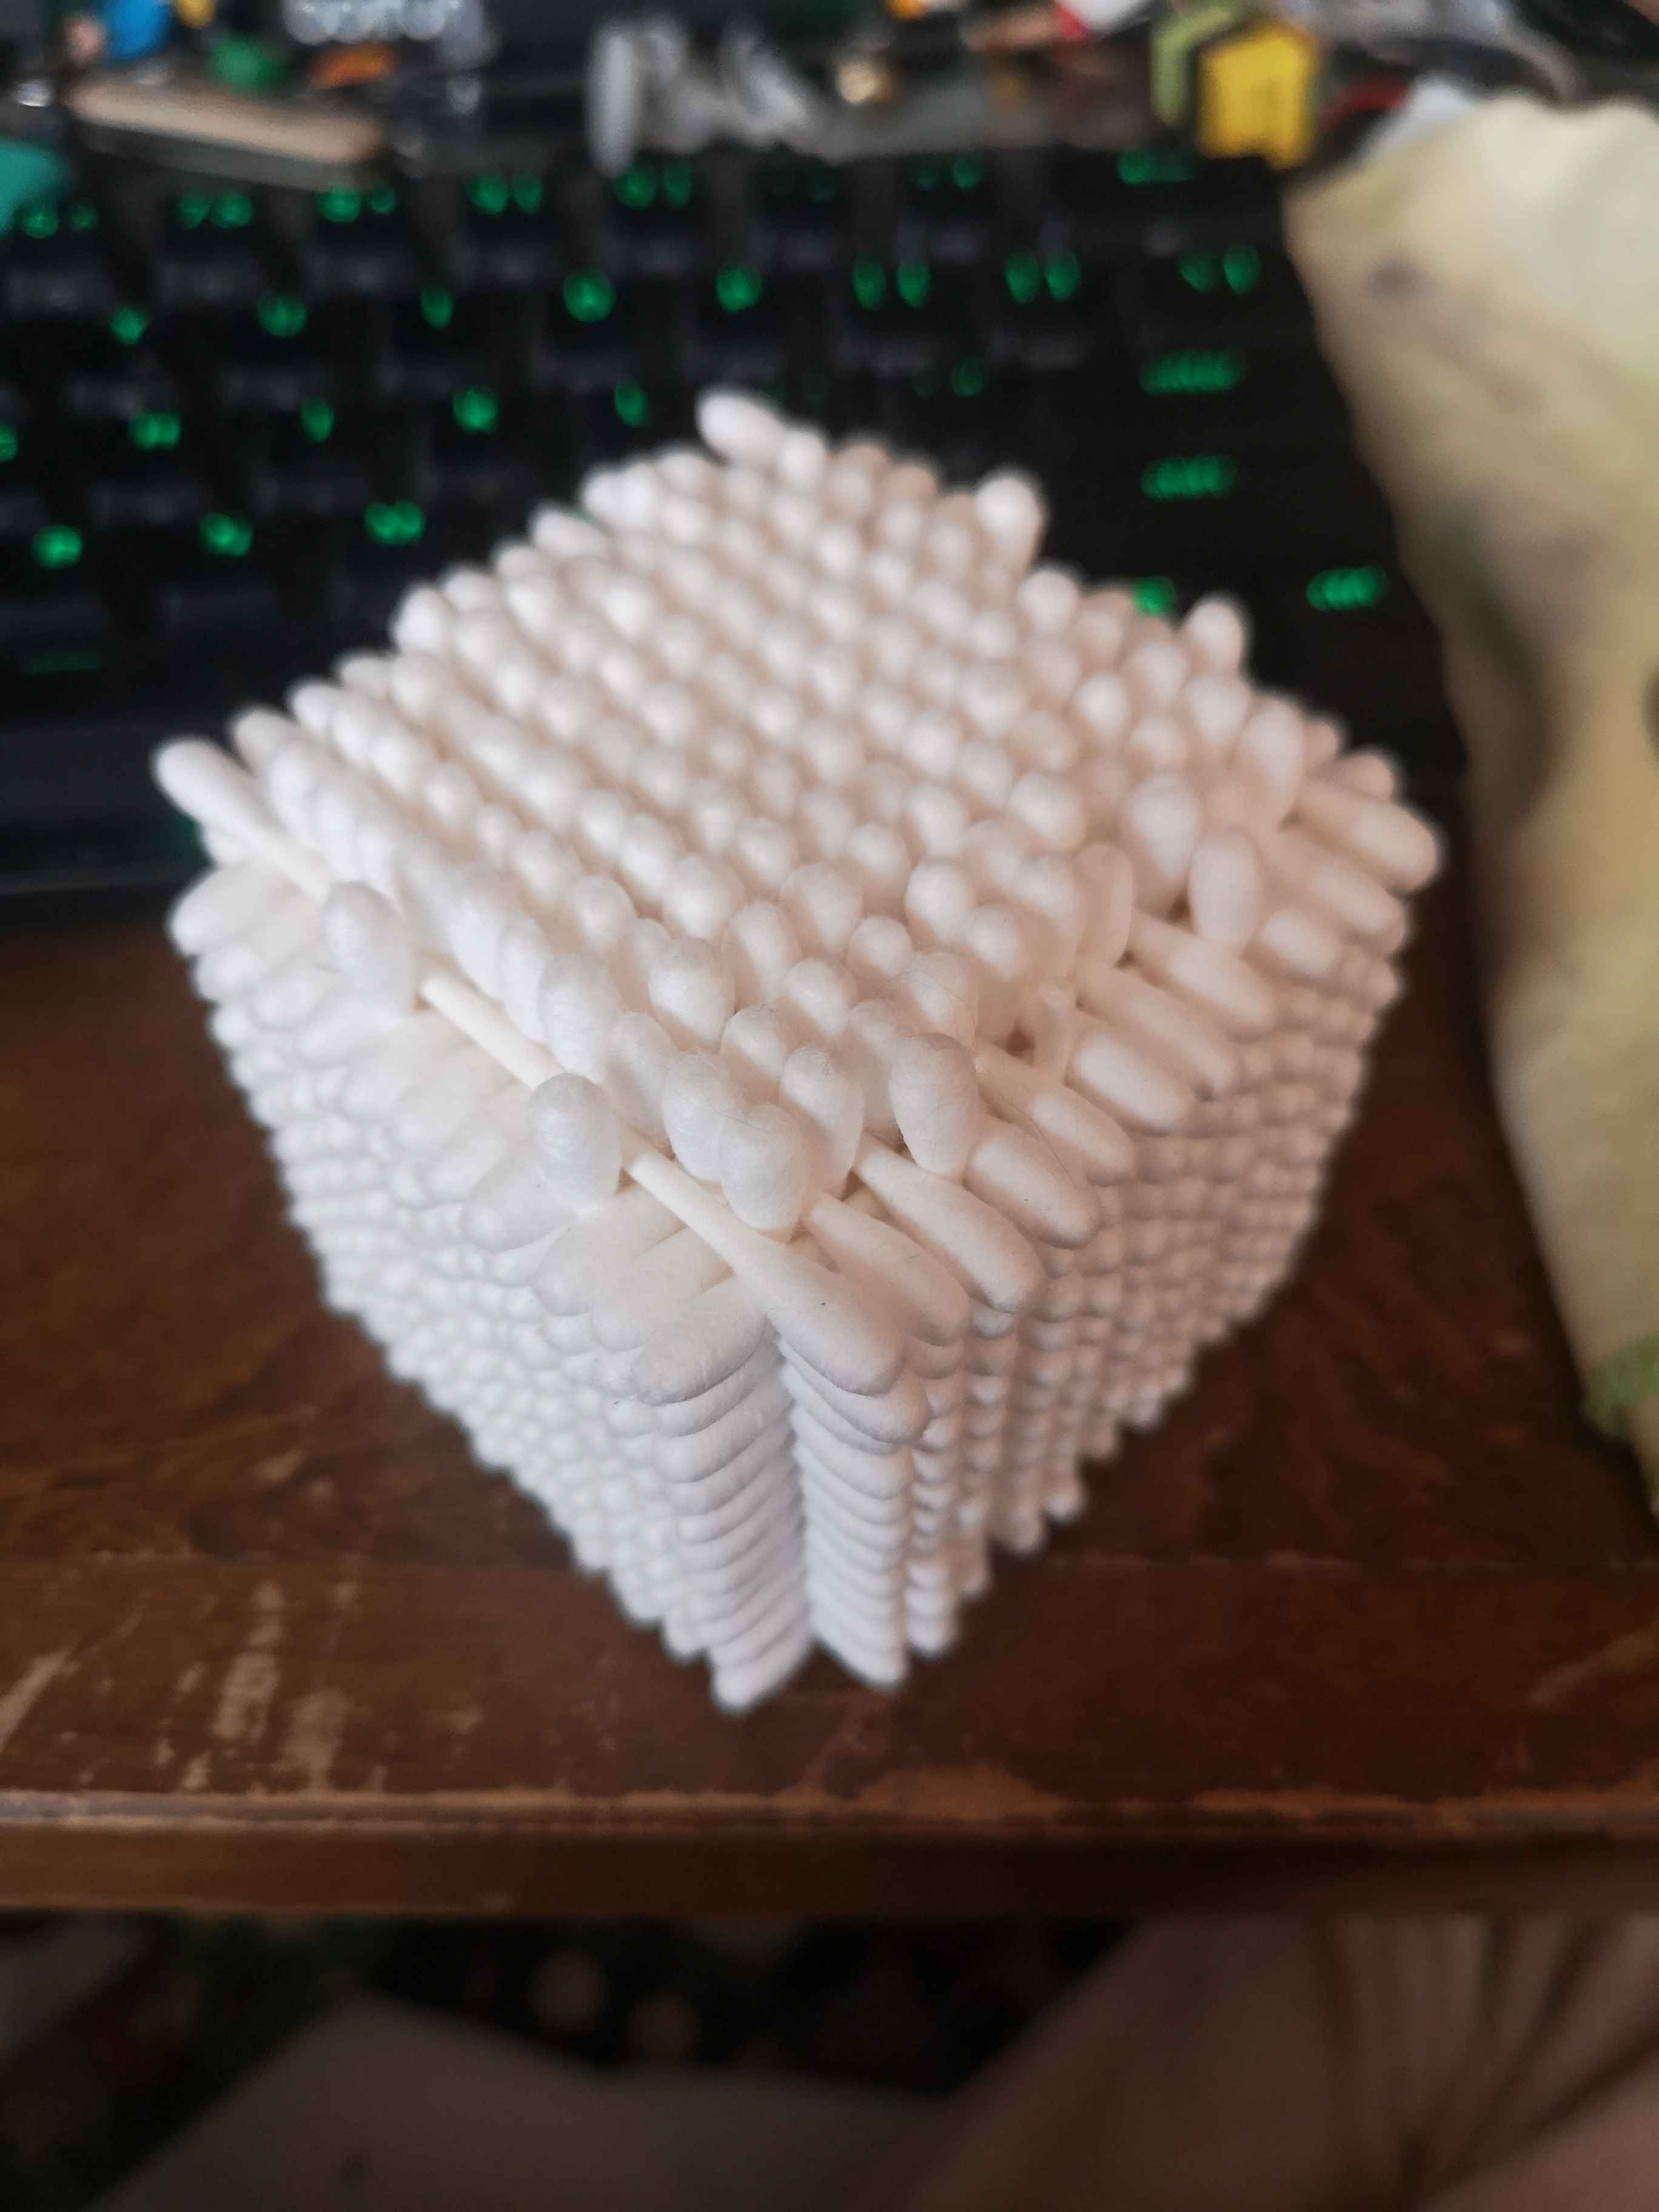
Two[*2] of the sides are 11x11, and one[*2] is 10x10, this is due to both the nature of its construction and an arbitrary design choice.
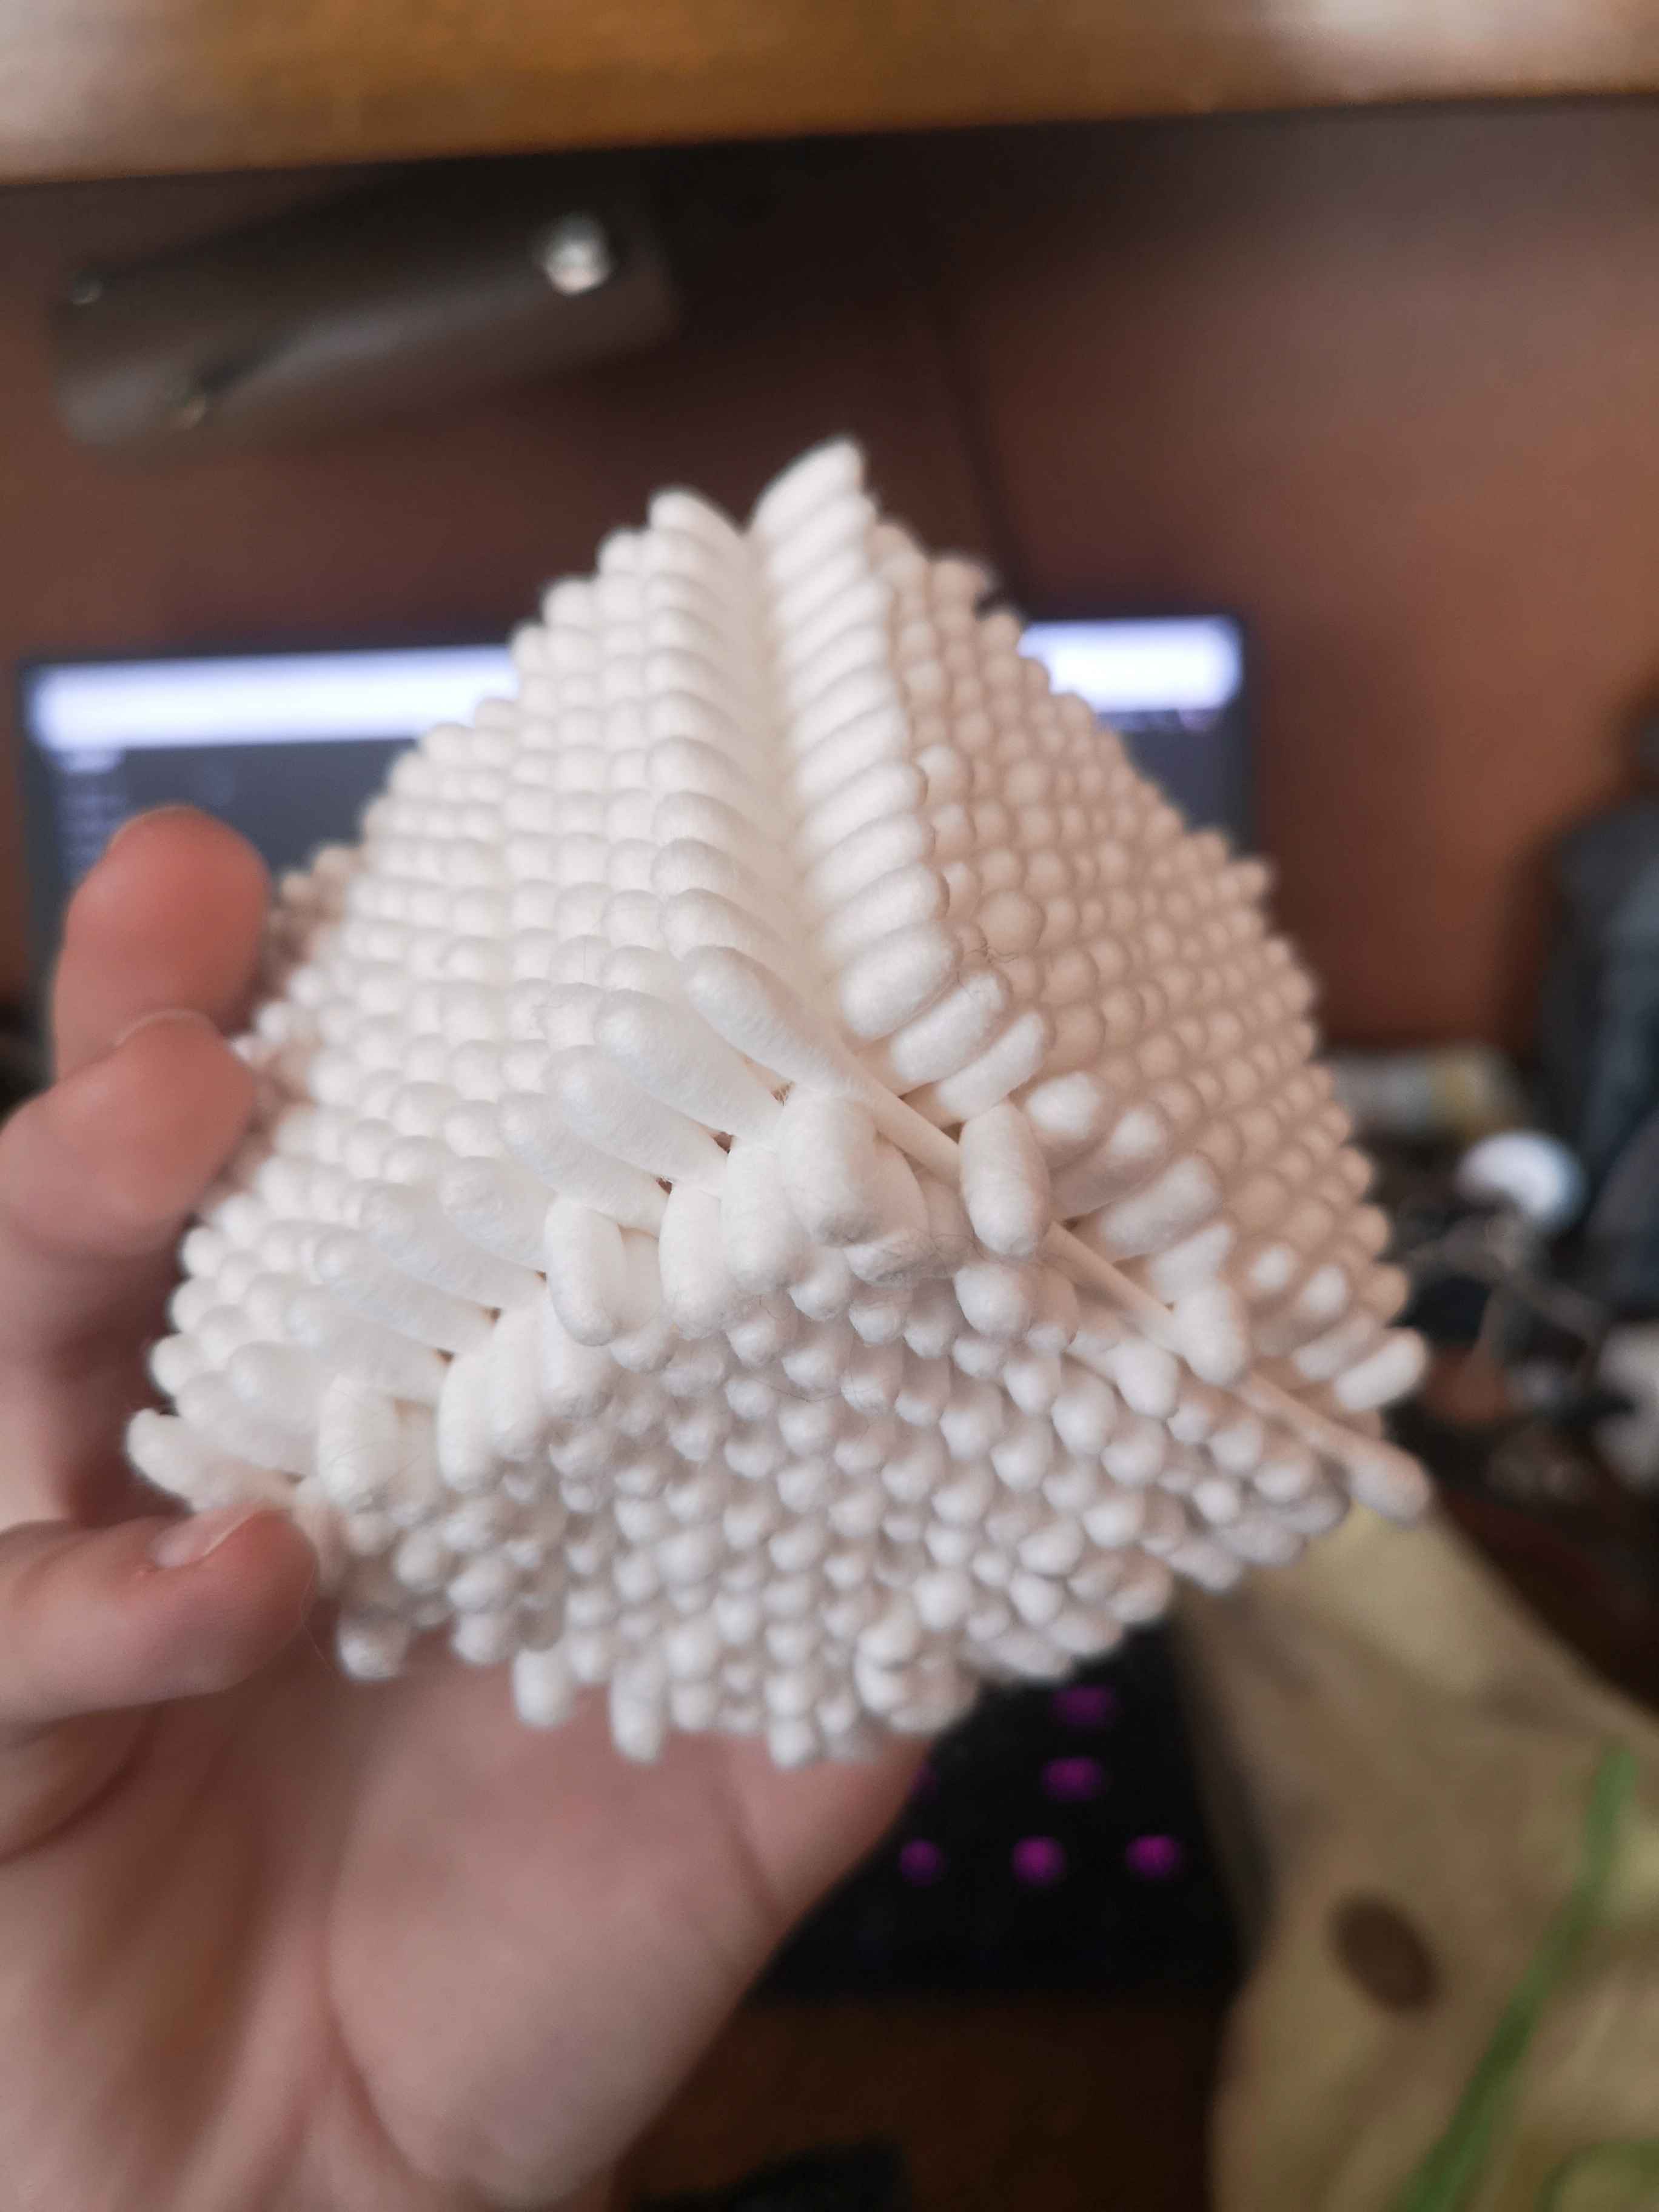
Since this cube is effectively three walls of rods pinning each other in, their respective surface areas are triaxially reflected; when beginning construction from the origin, one axis will "encapsulate" the other two, OR be encapsualted by the others. If one wishes for each face to remain congruent, then the opposite will be true of the axis of the terminating vertex. I chose to keep one[*2] of the sides smaller than the other two so that the reflected axis would remain encapsulated by its conpanions, thus it is not truely, in essence, a cube.
This is the origin corner. It actually might not have been lol but as we're about to see that doesn't really matter.
Written Insctructions (/video rough script)
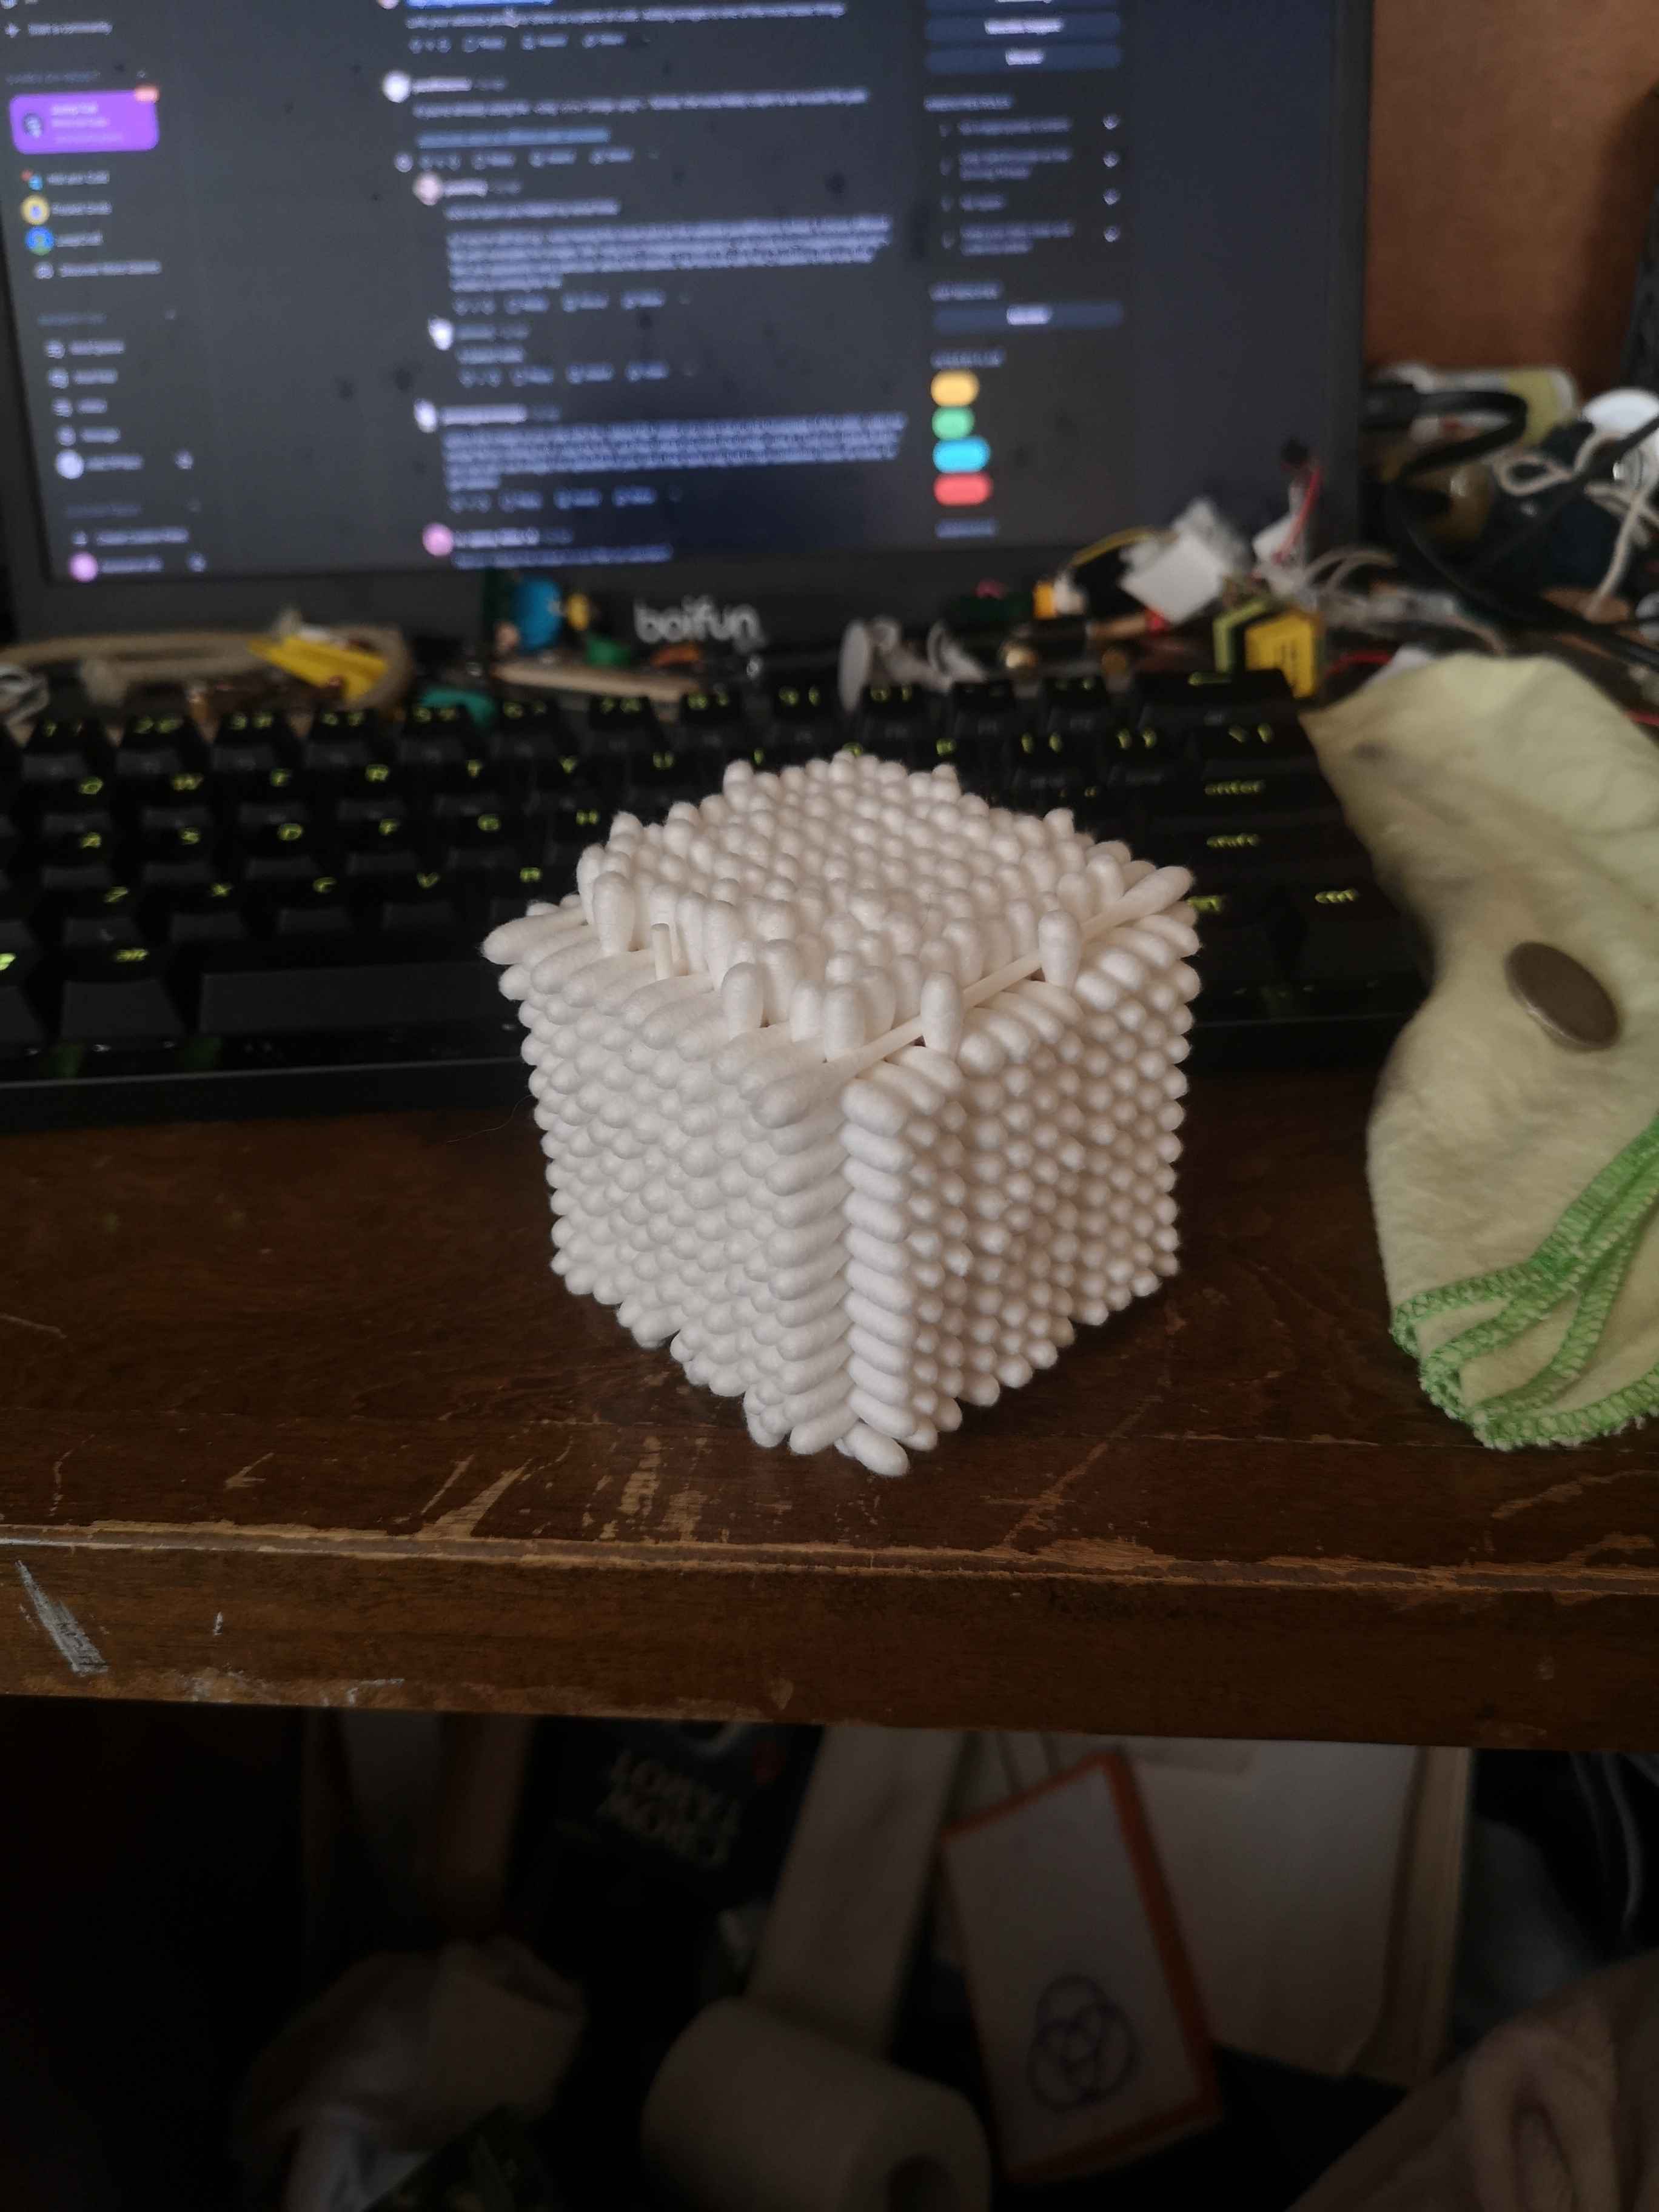
Behold. In 3/6ths of it's glorious, compact fluff: The Cubed Tip. Now, this wasn't my original idea, I saw a tweet where someone had done it, and had to give it a go myself. Also, to appease the geometry Gods I must address: coming in at 11x11X10x10X11x11, no, this is not actually a cube, nor can it be. It would be most accurately described as a rectangular prism, I think. If one were to use congruent side lengths, then three of the sides would not be contained within another, giving it a tilt. Such would make it a rhombohedron, or rhombic prism. I digress.
Unmodified q tips will be referred to as "rods" for the purposes of this tutorial, because it sounds cooler than q tips. Modified q tips, as well as q tips which aid in structural integrity without contributing to the overall geometry of the object, will be referred to as "pins".
Step 1: Foundation(s)
Begin by laying 11 rods parallel on a flat surface. Then, lay a second layer of rods, rotated 90° horizontally.
Step 2: Scaffolding
Insert one rod (or pin) in any corner, this corner will now be referred to as the "origin corner". I used rods for this step but pins will allow you to work on a flat surface without warping the foundation layers during construction. Insert structural scaffolding rods (or pins) all along the diagonal, and in each corner of the foundation layers. I used three in each corner to combat torsion. Scaffolding across the other diagonal is optional, triaxial symmetry is our friend here.
Step 3: Vertical Construction
Begin laying horizontal layers of rods, alternating rotation with each layer. Some rods or pins may have to be temporarily adjusted to accommodate the fluffy ends of rods. Do this until you have 10 stacks of 11x11 rods.
Step 4: Fastening
All that remains is to push rods into empty vertical slots, it is easier said than done though. You're going to want to do a rough star pattern, like tightening lugnuts on a tire. Start near the middle to prevent the outer edges from compressing the interior slots, but leave a few spaces for the inverse reason. I recommend you use plenty of pins to keep the slots aligned, sometimes they move just enough to misalign with other slots.
Step 5: Exterior Pins
This step is technically optional, but without it the object is just waiting to fall apart. Simply push two or three pins along their width into the face of a side perpendicular to one with an unstable edge rod. And you're done!